How to repair a kite?

To reapir a kite is not difficult, as long as you know how to do it. Some damages can be hard to fix yourself, such as a large tear that not only requires spare parts, a strong sewing machine and a certain degree of savoir-faire.

Nevertheless, many damages can be fixed by you. All you need is time and patience! We list here different types of damages and how you can treat them if you feel for repairing them yourself. That your repair becomes a success is however nothing we can guarantee 😉

Holes in the canvas

tear aid
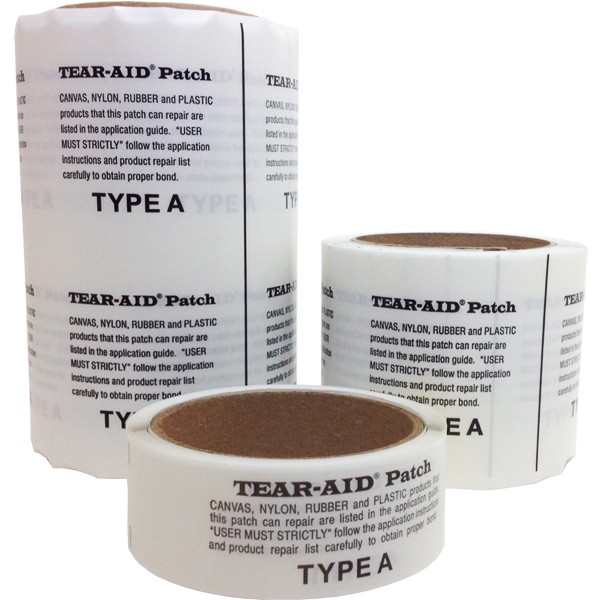
Small holes in the canopy can appear due to wear from sand, stones, sharp objects and suchlike. Make it a habit to inspect your kite now and then. A tip to detect tiny holes is to hold the canopy against the sun. The sunrays will shine through the tiniest hole. Small holes are easy to fix by using tear-aid, small transparent patches. Carefully clean a small area around the hole whereupon you attach a small patch on either side of the hole. Don’t wait with repairing small holes, since they quickly can grow bigger of stress from wind and water.

During transporting or while kitesurfing, then your kite will be in touch with various surfaces, objects and elements. Nails, stones, sand, water, etcetera can easily damage your kite. With time it’s not unusual that small tears appear in the canopy. Fortunately the material in modern kites are manufactured in such way that small tears don’t suddenly become huge just like that and tears of a few centimeters are easy to fix yourself.

Big tear in the canopy
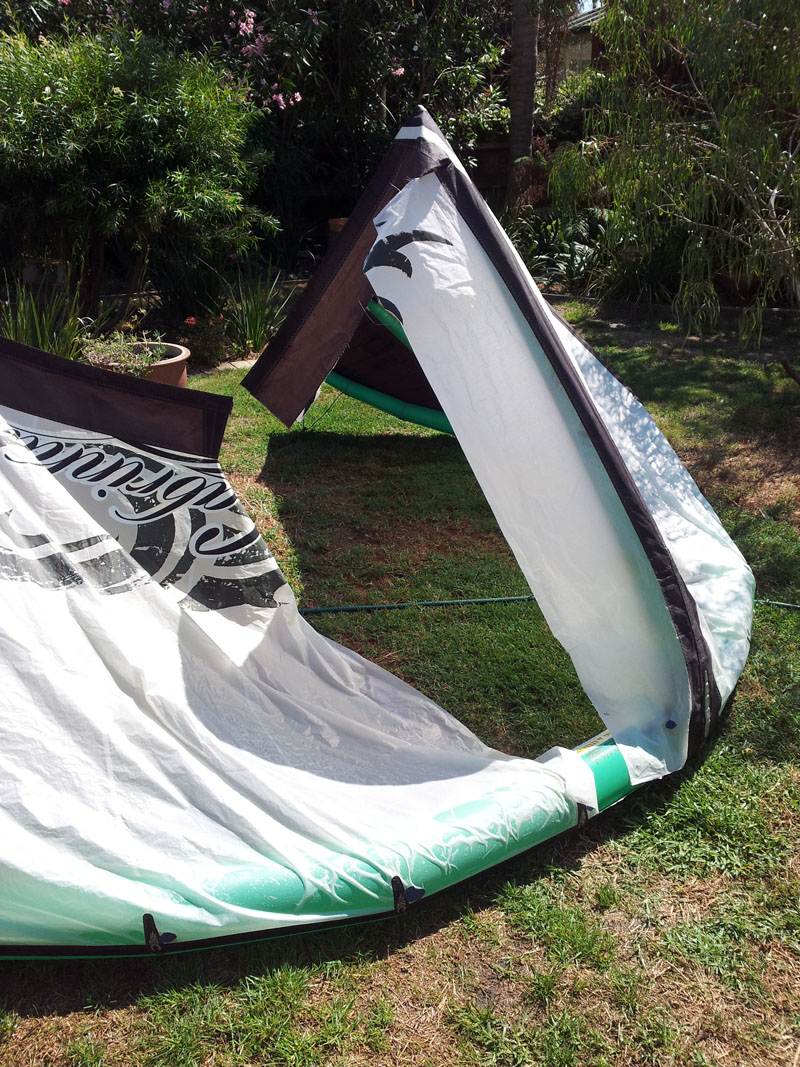
If your kite has gotten a tear that is longer than a decimeter, then consider to give your kite to a sailmaker that can make a professional repair that last.

However, if your kite only got a minor tear and you think that you’ll be able to fix it yourself, then make sure to do it properly. This is what you need:

  1. “Ripstop” tape. Ripstop and other spare parts are for sale at Surfspot.
  2. Scissor
  3. Iron or hair dryer
  4. Alcohol for cleaning

Now follow these steps carefully.

  1. Put the kite with its damaged area on a flat surface, free from any sharp objects. Use weights to stretch out the canvas.
  2. Clean the surface around the tear with alcohol so that there are no traces from water, salt, sand, dust or dirt. If necessary gently sand down the canvas for extra good adhesion.
  3. Cut two different sized pieces from the ripstop tape that are big enough to cover the tear with about 2-3 centimeters in all directions. Klipp ut två olika bitar från ripstop-tejpen som täcker revan med minst 2-3 centimeter åt alla håll. Different sizes since we don’t want the edges to tangent each other. Also make sure to round the edges to avoid the tape to peel off.
  4. Place the tape over the tear and press so that the glue adheres properly. Repeat the process for the other side.
  5. Use the iron or the hair dryer so that the tape becomes “welded” to the canvas. Just be careful not to melt the canvas!

This video describes the method quite well:

Leakage

To ride with a kite that is leaking air is not only extremely annoying but also potentially dangerous. A kite that is leaking air will start flap and lose some of its aerodynamical properties and might offer unpleasant surprises, like driving a car that gets a flat tire.

Just like you can get a flat tire on your bike, you can also get a puncture in your kite. A microscopical hole that makes your kite soft after several hours is close to impossible to find. The advice is to live with the inconvenience to repump the kite once the kite start becoming soft. Alternatively change the bladder. In case you blow up the bladder with a gaping hole as a result, then replacing the bladder is recommended. There are monster-patches to repair large holes, but there is a high risk of you casting countless of curses yet failing to repair the bladder. Leaking valves are harder to fix and it’s recommended to leave your kite to a professional repairer. Nevertheless, if your kite is leaking air and gets soft within minutes or even up to an hour then there are good chances of locating the leakage andd fixing it with an easy repair. Here comes a guide on how to fix your leaking kite yourself.

  1. Start pumping the kite until you think it will explodepump it hard, or you'll have difficulties to find the leakage with a spray bottle
  2. Fill a spray bottle with soap and water
  3. Spray the mixture over the entire Leading Edge and all struts. Is there a hole, then bubbles will appear where the air is leaking out. To on forehand know the section where the hole is located facilitates the work greatly when it’s time to take out the bladder. Once you have found the hole(s) then deflate the kite.
  4. Assume that you found a hole somewhere on the bladder which forces you to take it out in order to reapir the hole. Then start by opening the tube at the end of the corresponding wing tip. Pull out a piece of the bladder and gently attach a long piece of hemp string or some other relatively strong lace to it.
  5. Detach the air hoses from the hose connections between LE and the struts.
  6. Open the zip lock in the centre of the LE and pull gently out the whole bladder. If the hole is “big” then you can hopefully see it with the naked eye. If you can’t see the hole, then unfortunately, you’ll have to pump the bladder to a point where you once again can locate the hole by feeling the fine air current that flows out from the hole. Use the spray bottle, sweep your fingers or lips over the area where you kind of know that the hole is located. It might sound a bit perverted, but your lips are extremely sensitive and can detect the slightest air flow. NOTE! Pump the bladder just enough for it to be air filled so that you can detect the hole. When the bladder isn’t enclosed by its tube then the rubber can expand and become permanently deformed if you pump it too much. Often resulting in the bladder becoming useless.
  7. Once you’ve found the hole, then mark it with a marker pen.
  8. Now empty the bladder if you’ve done so already.
  9. Gently rough the area around the hole with a piece of sand paper.
  10. Clean with alcohol.
  11. Attach a patch over the hole and press firmly.

Now that the hole is repaired then all we have to do is to get the bladder in place again. This feat itself can be a daunting task since the bladder often tend to twist around itself as you pull it back in place through the LE tube. The key to success is to use talc powder and really try to keep the bladder as flat and straight as possible when you pull it back to its position. Put some talc powder on the bladder to reduce the friction. The hemp string that you attached to the end of the bladder now comes to use since you simply pull the string to make the bladder come back into the LE tube. This video shows how to replace a whole bladder. The principle is the same.

Summary

Time and patience is the key when you’re repairing kites yourself. If you don’t have this then you’re welcome to contact us so that we hopefully can help you 🙂

Gusty's old logo