Some words about the control bar
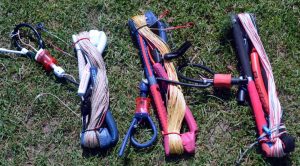 The control bar itself is just as important as the kite. It’s not fun in an emergency situation to suddenly notice that the Quick Release (QR) is jammed or that the lines don’t hold for the load. Always rinse the control bar in freshwater so that metal parts don’t rust and so that sand doesn’t wear down the lines. Spray some C-56 or put some grease on moving parts in the QR to keep them it good condition. Regarding the lines, always wind them up as perfect as possible. If you’re careless then you’re more likely to have tangled lines the next time you’re about to unwind them. Tangle + curses = jerks and pull = wear. As you’re rinsing the control bar then take the opportunity to rinse your harness too since its locking mechanism easily becomes sluggish from sand and water.
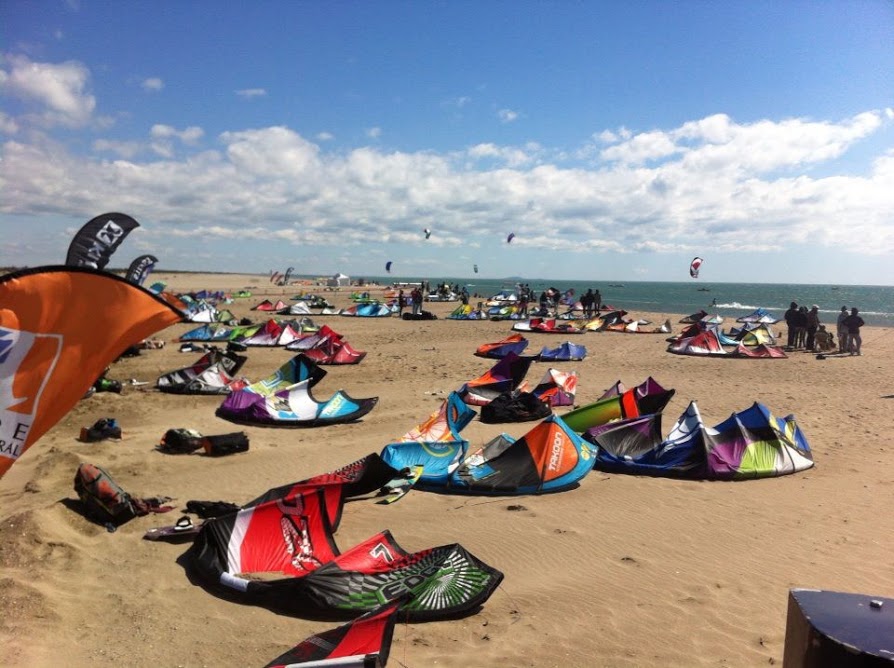
There’s a debate wether you should rinse your kite after a session. Some argue that the salt from the water leaves small salt crystals that wears down the fabrics, something I can agree with. At the same time salt has a preserving effect that prevents the formation of mold and bacterias in the kite. However, the water in Sweden is not salty, at the most brackish, so there’s not really any reason to rinse your kite with freshwater in our country. One can say that lazyness and comfort in this matter easily overcomes the pain of once your home to packing up, rinsing, drying and packing down your kite again.
No matter how pedantic you are, the lines will normally wear down by time. Lines that are slighly worn out and a little bit ragged is usually nothing to worry about, at least if you’re not pushing it too hard as you’re surfing. Nevertheless, if the lines becomes too worn out (and especially if you belong to the group of people that likes to kitesurf when the wind is howling) then it can be vice to change your lines to new fresh lines before an accident happens. Surfspot has a great range of both lines and control bars ett stort utbud av både to good prices.
Did you know that a single knot on a line reduce its durability? Exactly how much I cannot tell, but 30-50% is my estimation according to different sources though it for sure has to do with the type of knot and fabric in the line. No matter what, you don’t want to have a knot on any line. To untie a rock hard little knot might seem like an impossible project, but there is a trick! Put the lines over a cutting board or some other solid underlay. Grab a hammer and start working the knot with gentle hammer blows and you’ll see how the knot suddenly comes lose. If the knot is a real bastard then pour a drop of cooking oil and it will come lose easier. Use a forks, nails, awls or similar tools with care since we don’t want damage the line as we untie it.
/Gustav – IKO Instructor